
Patient guide to home blood pressure monitoring
This page was translated with AI. Only the Danish text has been reviewed by a human — read the Danish version.
Home blood pressure monitoring is a diary of how your blood pressure varies during the day and from day to day. Measurements are taken over 3 days.
Measuring your blood pressure at home in calm, familiar surroundings often gives a more accurate picture of your blood pressure. It is important to follow the instructions carefully so that the readings are useful.
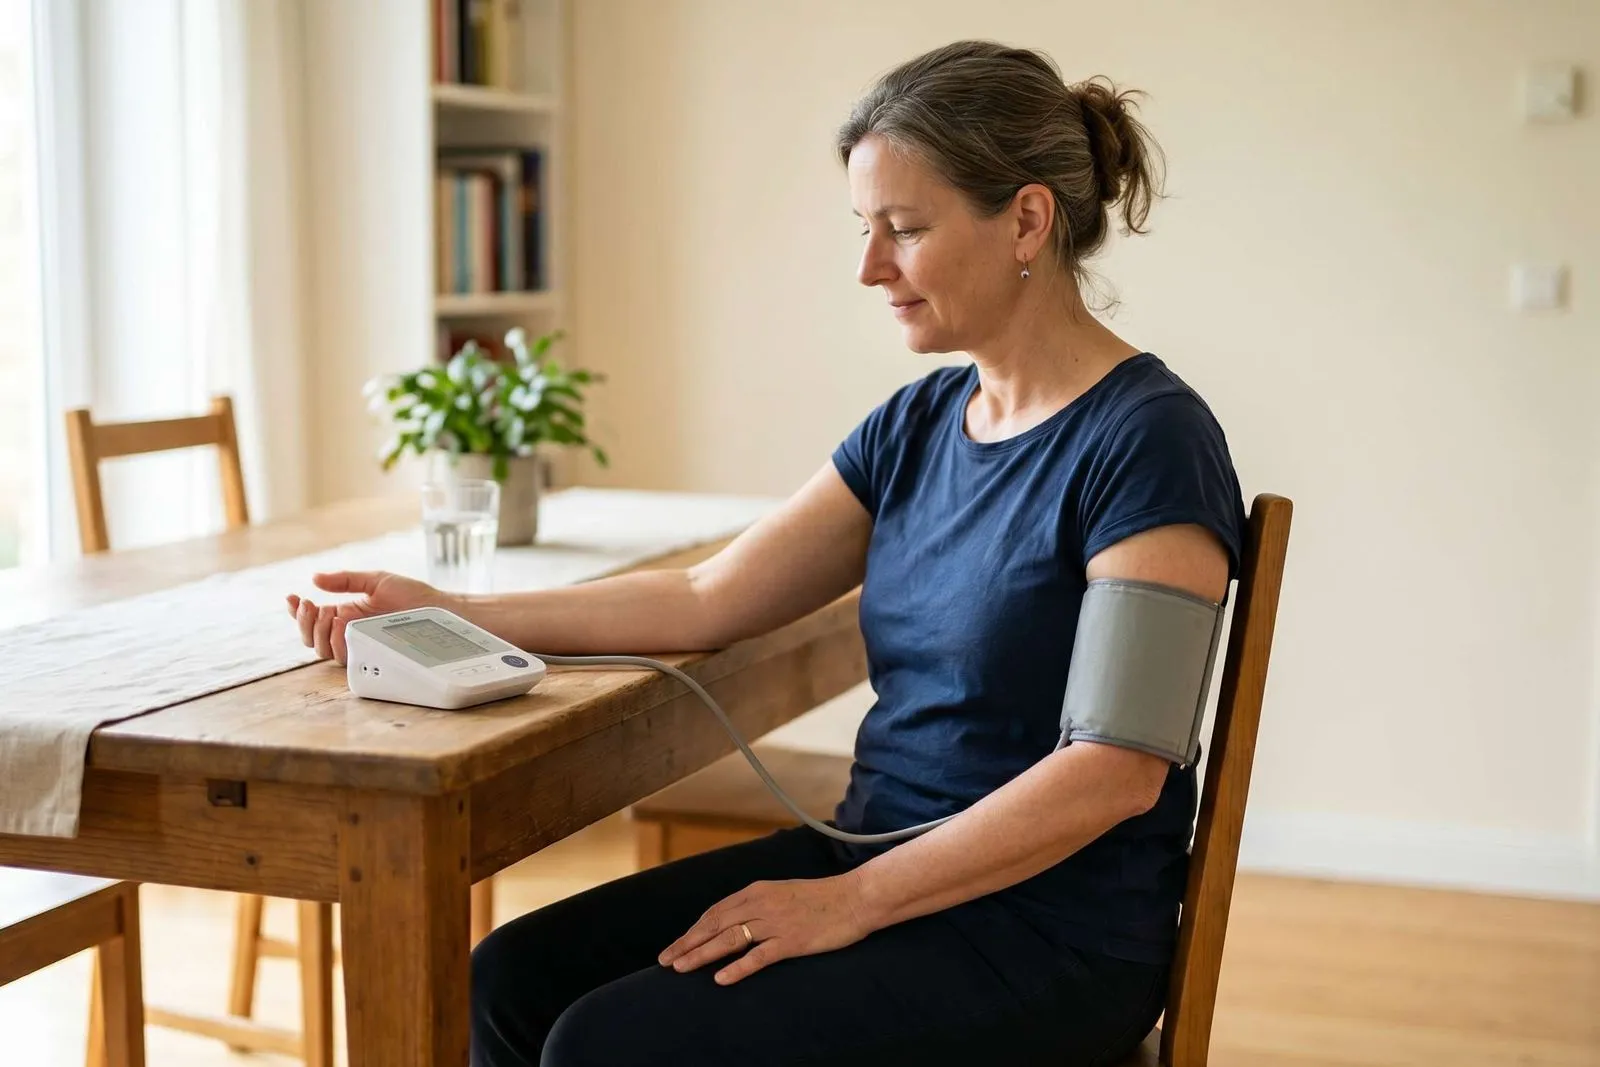
Correct home blood pressure measurement is taken sitting down and relaxed, with the cuff on the upper arm and the arm at heart level.
Where and when to measure your blood pressure
Measure your blood pressure on 3 consecutive days, using the same arm each time.
- Before breakfast, measure your blood pressure 3 times, 2 minutes apart, and write the results in the form.
- Before your evening meal, measure your blood pressure again 3 times, 2 minutes apart, and write the results in the form.
Before measuring your blood pressure
- Do not take medication before you have measured your blood pressure in the morning.
- Do not smoke or have caffeine, for example coffee, tea or energy drinks, in the 30 minutes before measurement.
- Do not be physically active, for example running, in the 30 minutes before measurement.
How to measure your blood pressure
- Sit quietly and relax for at least 5 minutes before starting the measurement.
- Do not cross your legs, and rest your back against the back of the chair.
- Roll up your sleeve if you can do so without it being tight. Otherwise, take off your top. Tight clothing can give incorrect results.
- Put the cuff on your upper arm directly against the skin, just above the bend of the elbow.
- The cuff should fit closely but must not be tight. You should be able to fit a finger underneath it.
- The air tube should be in the middle of your arm, pointing down along it.
- Rest your arm on a table so that the cuff is at the same height as your heart.
- Press the start button on the monitor.
- Measurement begins when you press the start button. It may feel a little tight around your arm. Do not talk or move during the measurement, which takes a couple of minutes.
After measurement, three numbers appear on the screen. Write these in the form:
- the higher blood pressure number, called systolic blood pressure
- the lower blood pressure number, called diastolic blood pressure
- your pulse
How to record your readings
- Follow the link you receive from WebPatient by text message or email.
- Log in to WebPatient with MitID through the link.
- Select your active form under “Mine skemaer” (my forms) on the home page.
- Enter the 3 readings in the form. For each reading, enter 3 numbers: systolic blood pressure, diastolic blood pressure and pulse. Press “Gem” (save) to save the readings.
- Alternatively, you can write the readings on a draft form and enter all the results together once you have taken all the measurements.
- Press “Send skema” (send form) once you have recorded readings for three full days. All fields must be completed.
You need to record 18 readings in total.
Clinically updated 27 April 2026
If you are in doubt, call us
Call the clinic on 73 70 81 10